In this tutorial, we will learn how to draw the following tab graphics using Photoshop.
Default gradient tab: default_tab.jpg

Default highlighted tab: highlighted_tab.jpg

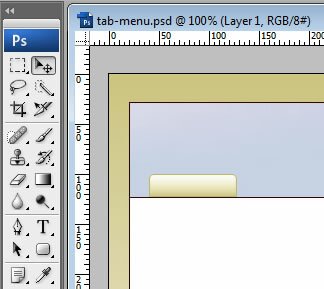
1. We will start with a website layout that looks like ...
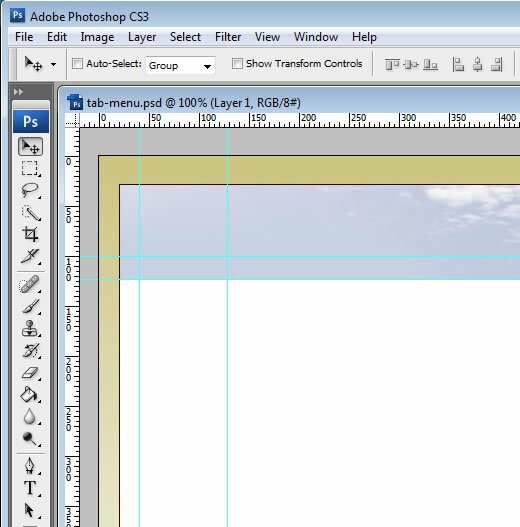
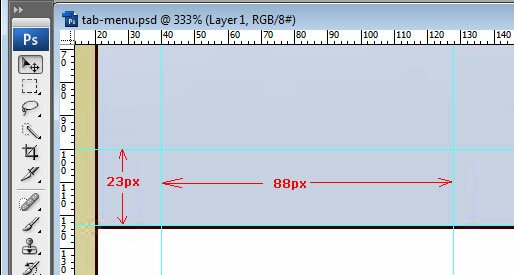
2. Zoom in close and set some guides with the dimensions shown...
3. Set the color and use the Rounded Rectangle tool set at 5px radius to draw the tab along the guides as shown below.
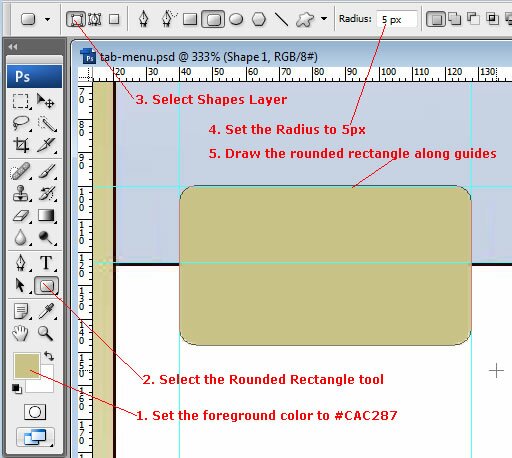
Remember to use the Shape Layer setting. Note that the bottom of the
rectangle drops below baseline of where the tab would be.
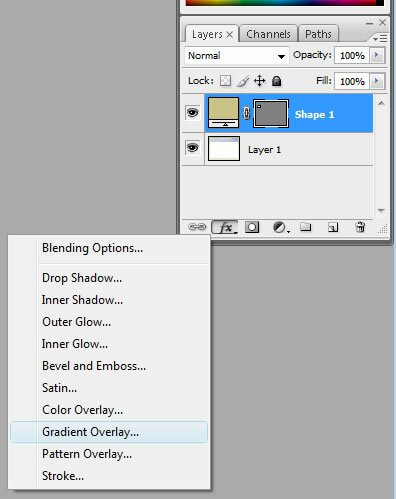
4. This should give you a new shape layer in the Layers pallette. With this new layer selected, add a new Gradient Overlay Layer Style as shown.
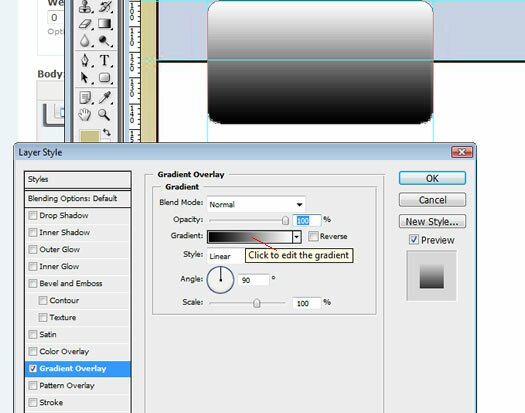
5. In the Layer Style dialog, click as shown to edit the gradient.
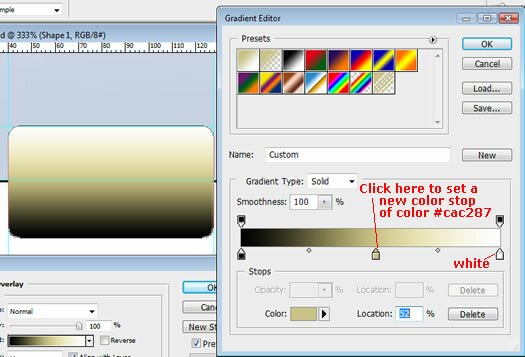
6. In the gradient editor, click in the center just below the gradient to add a color stop in the middle. Set its color to #CAC287. You can leave the right color stop as white. Click OK to both dialogs.
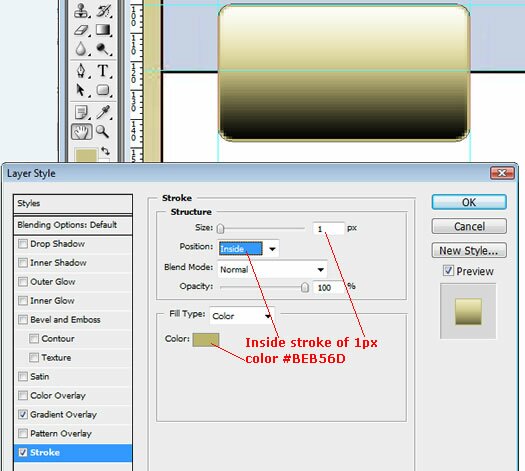
7. Now add a Stroke layer style to the Shape layer...
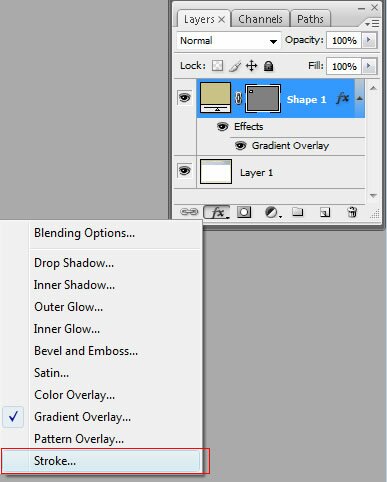
8. In the Layer Style dialog, set stroke to be color #BEB56D.
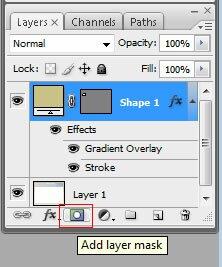
9. Now we need to hide the bottom half of the rounded rectangle. With the shape layer select, click Add Layer Mask icon.
10. Select the bottom half of the rounded rectangle, set default white and black foreground and background colors.
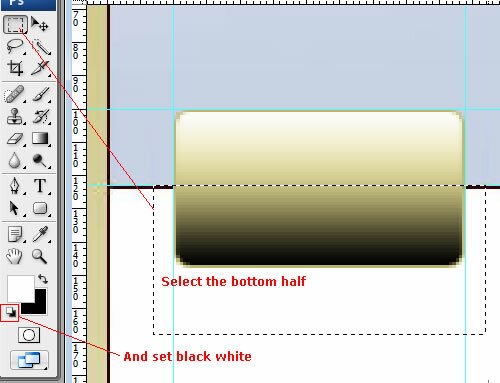
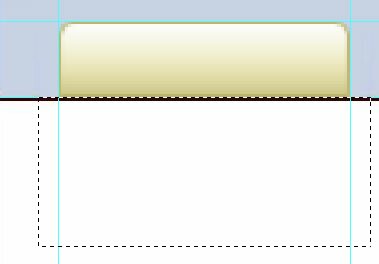
11. And do Ctrl-Backspace to fill the selection with white. This should mask the bottom half like so...
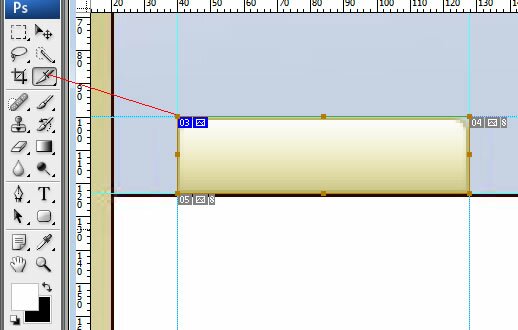
12. With the Slice tool, slice along the guides.
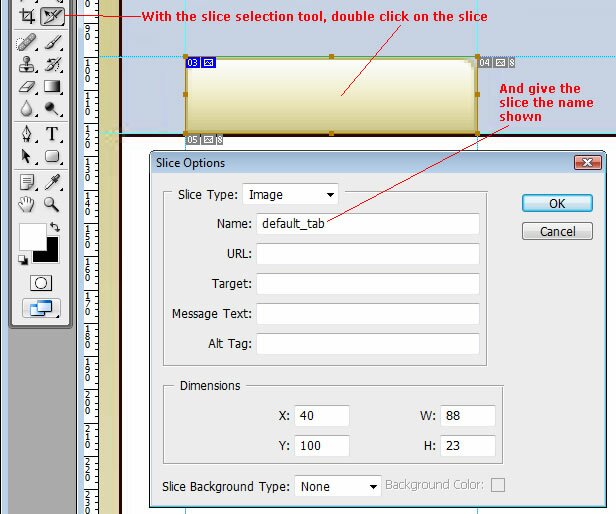
13. Name the slice "default_tab" with the Slice Selection tool.
14. With the slice selected, do "File -> Save for Web and Device" and save as JPEG format.
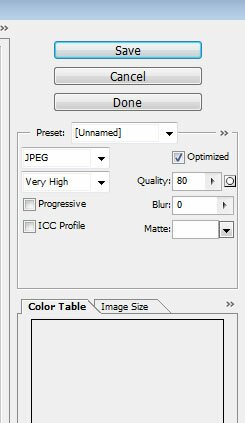
15. And save the file as default_tab.jpg with these settings ...
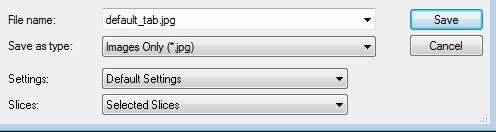
16. You should now have default_tab.jpg that looks like ...
Note that Photoshop may put that file into a subfolder called "images".
Here is the final PSD.
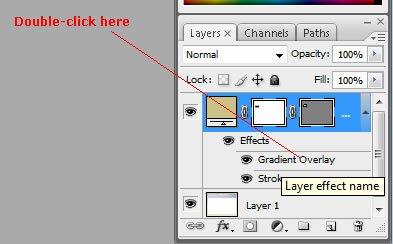
17. To make a highlighted version of that tab (one that looks selected or hovered over), do the following. Select the Shape layer and double-click on its gradient overlay...
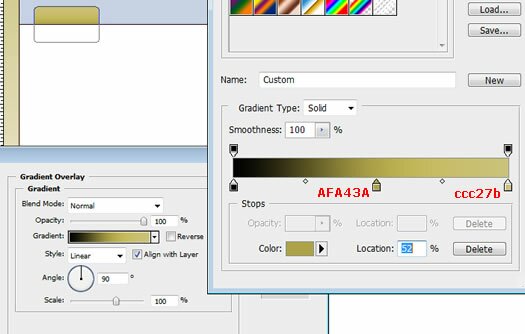
18. Then alter its gradient to the colors shown...
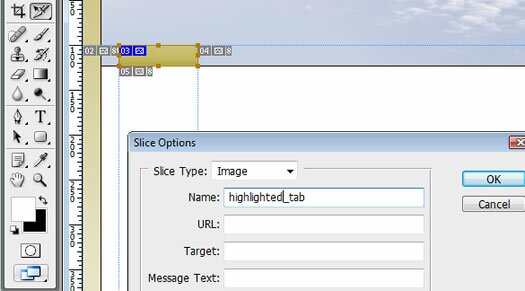
19. Using the Slice Selection tool again, change the name of the slice to highlighted_tab.
19. Like before, export the JPG file as highlighted_tab.jpg. And you get ...
And the PSD for the highlighted tab is here.


